Monday, April 11, 2011

The Best and Easiest Homemade Bread

Now I am always a little gun shy when it comes to using yeast. I have gotten a bit better lately but still am wary of straight up bread. So when my SIL Heather invited my mom and I over to make some of her delicious bread I jumped at the chance. She said it was Super easy and she wasn't lying. Making it that day with her by our side was easy, but the real test was could I make it myself, so I took excellent notes and gave it a try. I know there are a lot of pics but I want to give you step by step instructions for those of you out there who are as wary of bread making as I am.
First she lines up her ingredients in order that she puts them in

starting off with some yeast dumped in some warm ( not hot warm) water ( no need to mix)
Set aside
Start adding rest of the ingredients to mixer
powdered milk
oil (add this first and use same measuring cup so oil just slides out)
honey
salt

then dump in yeast water
then add first 6 cups of flour
start mixing then scrape the sides
after that start adding more to total about 11-12 cups

you want it to pull away from the sides a little bit but still be sticky
( I am always so afraid of not adding to much that I always add to much- so you want it to be sticky and not all come away from the bowl)
then mix for 8 minutes- by then it will pull away from the sides completely
then take out your hooks and leave it in the bowl covered and let it rise till doubled in size

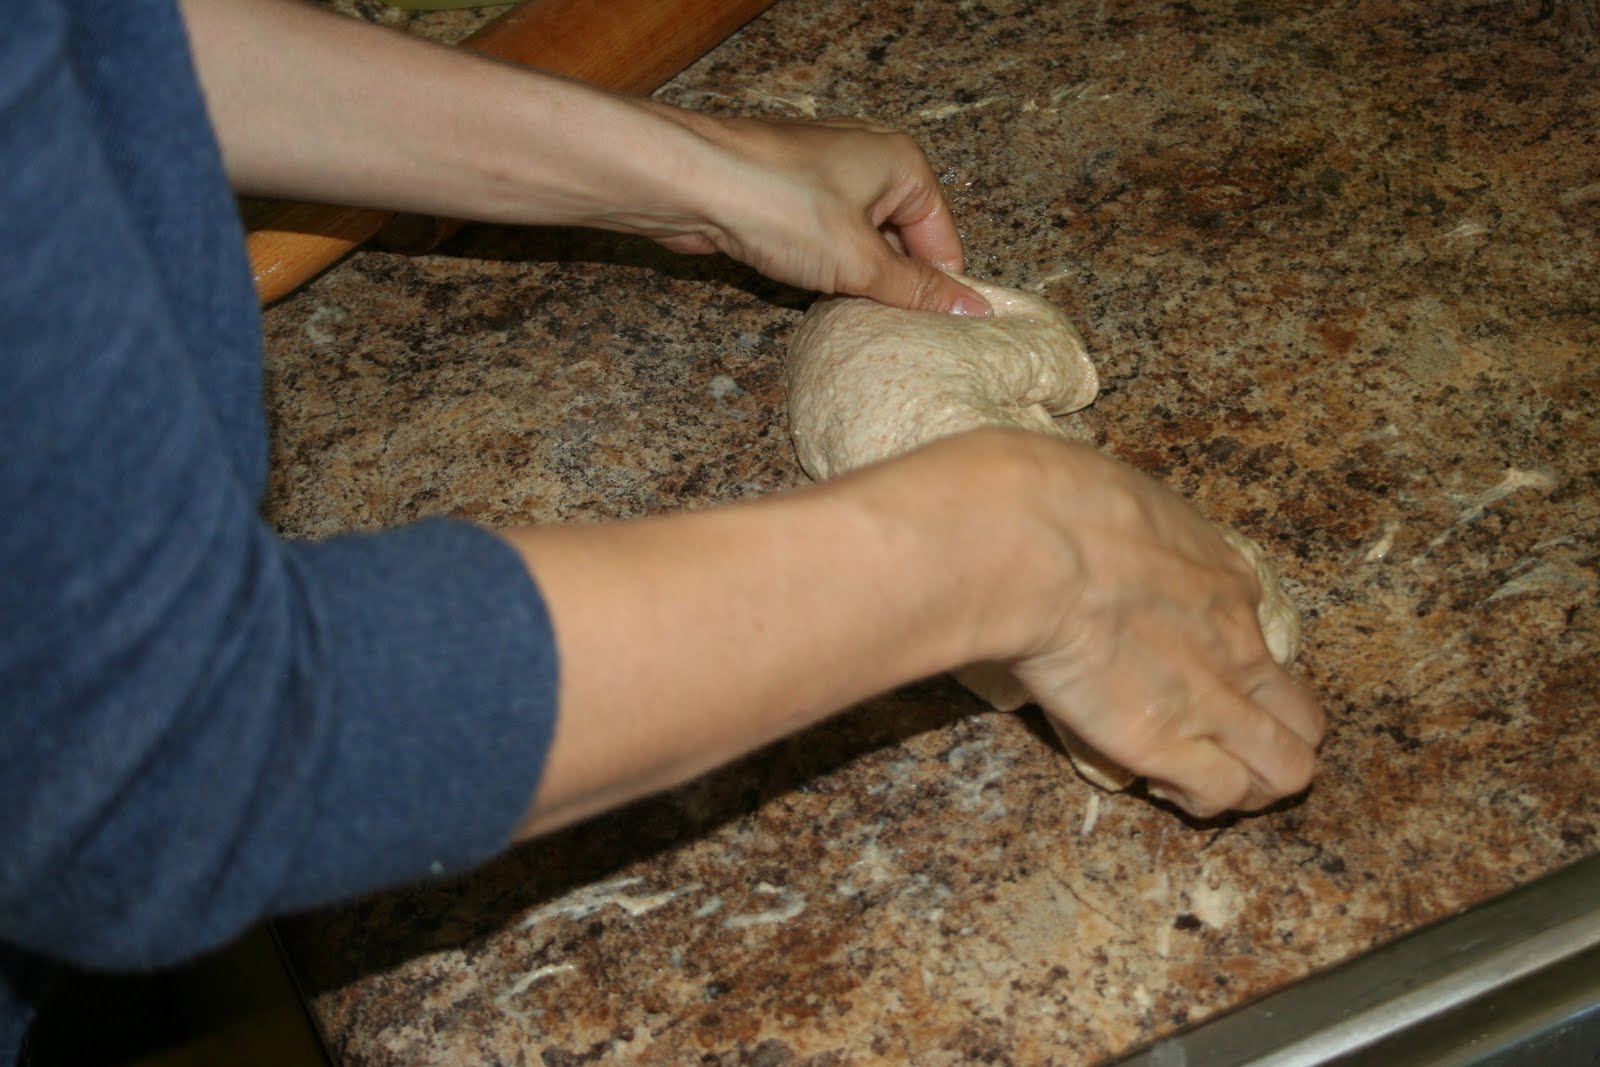
Once rises oil up a working area and your hands a bit then dump it out
then divide into fourths
take the ball
roll it out lengthwise

fold it in half
flip it over
then start rolling it up tight


then seal it up on the ends
and sides
fold the sides under
put in greased pan and pat it down

then let rise again covered till they are over the rim about 30 min.
they are almost done in this pic
finished rising
then put in oven for about 20 min. till they reach 180 degrees most importantly
check them individually
let them cool completely on something that will soak up the oil like a paper bag.

Then they are yours to do with what you want
Warm with butter or toasted with honey.
You can give some to a neighbor or freeze them .
So good luck and I hoped this helped


Heather's Best Whole Wheat Bread

5 C. warm water
2Tb. yeast
add yeast to bowl of water, do not mix, set aside
to mixer add
1/2 C Powdered milk (plus 1/4 more if instant)
1/2 C oil
1/2 C honey
2Tb. salt
dont mix
add yeast water
then 6 cups flour ( I didn't have fresh ground wheat so I used half white half wheat store bought)
Start mixing then scrape the sides and continue adding flour till it pull away from sides a bit but is still sticky about 11-12 cups. Then mix in low for another 8 min. By this time it will pull away completely from sides. take out hooks, cover and let rise until doubled in size.
Once rise use oil and roll into bread form, then place in greased ( I spray with pam) bread pans, cover and let rise again until they reach the rim about 30 min.
Cook at 350 for about 20 min. till they reach 180 degrees.
Cool completely before bagging or freezing.

Monday, April 4, 2011

Stove Top Chicken

Awhile back there was a great deal on Stove top Stuffing and while I am not a huge stuffing fan and almost never buy it I decided to get a couple of boxes just in case.
Then I looked up some recipes using said stuffing box. I came across this one from Kraft and with 5 ingredients it was worth a try! It was super simple, Loaded with flavor and completely kid friendly. Who could ask for more. This dish will definitely be making an appearance around this house for a long time.
I used my big plug in skillet.

STOVE TOP One-Dish Chicken Skillet

what you need

1-1/2 cups hot water

1/4 cup (1/2 stick) butter or margarine, melted

1 pkg. (6 oz.) STOVE TOP Stuffing Mix for Chicken

6 small boneless skinless chicken breast halves (1-1/2 lb.)

1 can (10-3/4 oz.) condensed cream of mushroom soup

1/3 cup BREAKSTONE'S or KNUDSEN Sour Cream

make it


MIX hot water, butter and stuffing mix.

COOK chicken in large nonstick skillet sprayed with cooking spray on medium heat 5 min. on each side.

MIX soup and sour cream; pour over chicken. Top with stuffing; cover. Cook on low heat 10 min. or until chicken is done (165ºF).

kraft kitchens tips

SUBSTITUTE

Substitute fat-free milk for the sour cream.

USE YOUR OVEN

Heat oven to 375°F. Prepare stuffing as directed. Place chicken in 13x9-inch baking dish or 2-qt. casserole. Mix soup and sour cream; pour over chicken. Top with stuffing. Bake 35 min. or until chicken is done.

SUBSTITUTE

Prepare with BREAKSTONE'S Reduced Fat or KNUDSEN Light Sour Cream.


Thursday, March 31, 2011

Goldfish


While trying to plan something for the kids play group I came across this great idea from Oopsey Daisy.
I first read the book to them.

then let them go at it. Most of them got the concept
and a couple of them just asked if they could eat them!


Thursday, March 24, 2011

Cowboy Dinner


When I saw this meal on Mel's Kitchen Cafe I knew it was right up my alley! Basically I will try cornbread with anything. It is truly in my top 5 of things to eat. Best thing about this meal is that I had Everything on hand, that doesn't happen very often but when the ingredients and versatile and easy to store in the freezer or pantry it makes for one easy dinner. So if this mixture of beans, corn, beef, cheese and cornbread sound as good to you as it did to me then you should definitely make this.

Cowboy Dinner

*Serves 6-8

Beef Mixture:
2 pounds lean ground beef
1 medium yellow onion, diced
1 teaspoon salt
1/2 teaspoon black pepper
1 cup frozen corn kernels
1 1/2 cups salsa (jarred or homemade)
1 can (15 ounce) black, pinto or white beans, rinsed and drained
1 cup shredded cheddar cheese

Cornbread Topping:
½ cup cornmeal
1 ½ cup flour
1/3 cup sugar
1 tablespoon baking powder
½ teaspoon salt
1/3 cup oil
2 eggs, beaten
1 ¼ cup milk

Preheat the oven to 375. Lightly grease a 9X13-inch pan and set aside.

In a large 12-inch skillet, brown the ground beef and onion, adding the salt and pepper, over medium-high heat until the beef is no longer pink. Drain the grease from the pan. Stir in the corn, salsa, and beans. Pour the beef mixture into the prepared 9X13-inch baking pan and set aside.

For the cornbread, combine the cornmeal, flour, sugar, baking powder and salt in a medium bowl. Make a well in the center and add the oil, beaten eggs and milk. Whisk together until just moistened and no dry spots remain.

Sprinkle the cheese over the beef mixture and pour the cornbread batter over the cheese and beef mixture. Gently spread the cornbread to the edges of the pan, evening it out over the top of the casserole.

Bake for 40-45 minutes until the edges are bubbly and a toothpick inserted into the center of the cornbread comes out clean or with a few moist crumbs. Let the casserole stand for 10 minutes before serving.


Tuesday, March 8, 2011

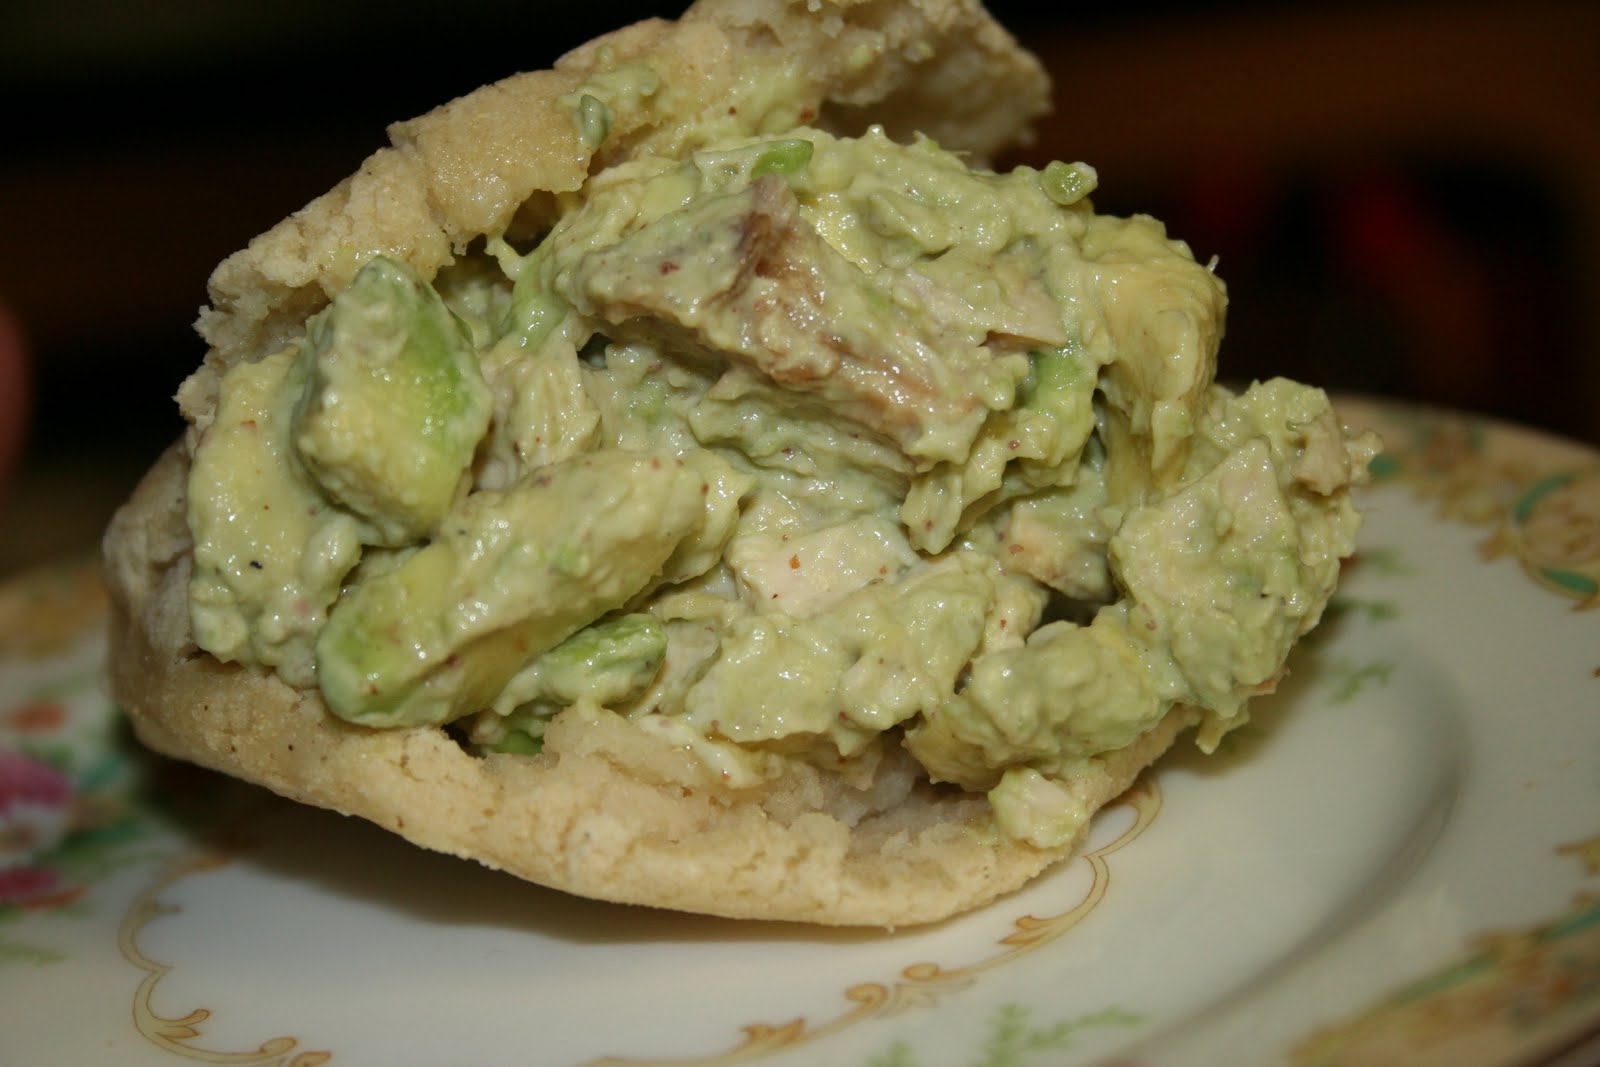
Arepas


While watching DDD I saw this concoction called an Arepa - a Venezuelan english muffin with a Venezuelan Chicken salad inside, aka reina pepiada. Well it was love at first sight. It looked pretty simple and easy though it was a little more work than I bargained for.( worth it!) On the show they used chicken breast that they had roasted and since I wanted it to be authentic I decided it was time to roast my First chicken! That's right I have never roasted a bird before chicken or turkey. I gotta say I was pretty nervous, turns out I didn't need to be. It was super simple and turned out perfecto! I found out everything I needed to know about cooking the bird from this website.
I have never cared much for the skin of a bird but oh man me and the kids were fighting over it, and the meat too!


I cooked the bird ahead of time and then separated the breasts from the bird once it had cooled completely.
After that I diced both breasts
added generous amounts of mayo, dijon mustard and worchestire sauce, salt and pepper
then diced 3 avacados
then mixed it all together, works best to use your hands

Now it came time for the Arepa- I had no idea how to make one so I searched the web and came across this blog that went through it step by step with someone who KNEW how to make them. Normally I would explain how I made it but her instruction were so good and worked great that I want you to use hers. But please follow the instructions perfectly.


Now the end of this tale is happy. I made, we ate and EVERYONE loved! Yes I mean it everyone loved these. My husband told me I will need to make them again exactly the same! ( that is big for him since usually he has one or two thing I could change or improve upon the food)

Related Posts Plugin for WordPress, Blogger...